ARE YOU READY? The first “how-to” post! I mean it seemed odd that I a crafter, who has a craft blog with no crafts but I love to craft so a crafter with no crafts on her craft blog is just un-crafty. Uh did that make any sense? Okay. Lets try again. What I’m trying to say is why have a craft blog with no craft posts… Ugh. This isn’t working lets just get into it.
Materials:
• Fabric
• Stuffing

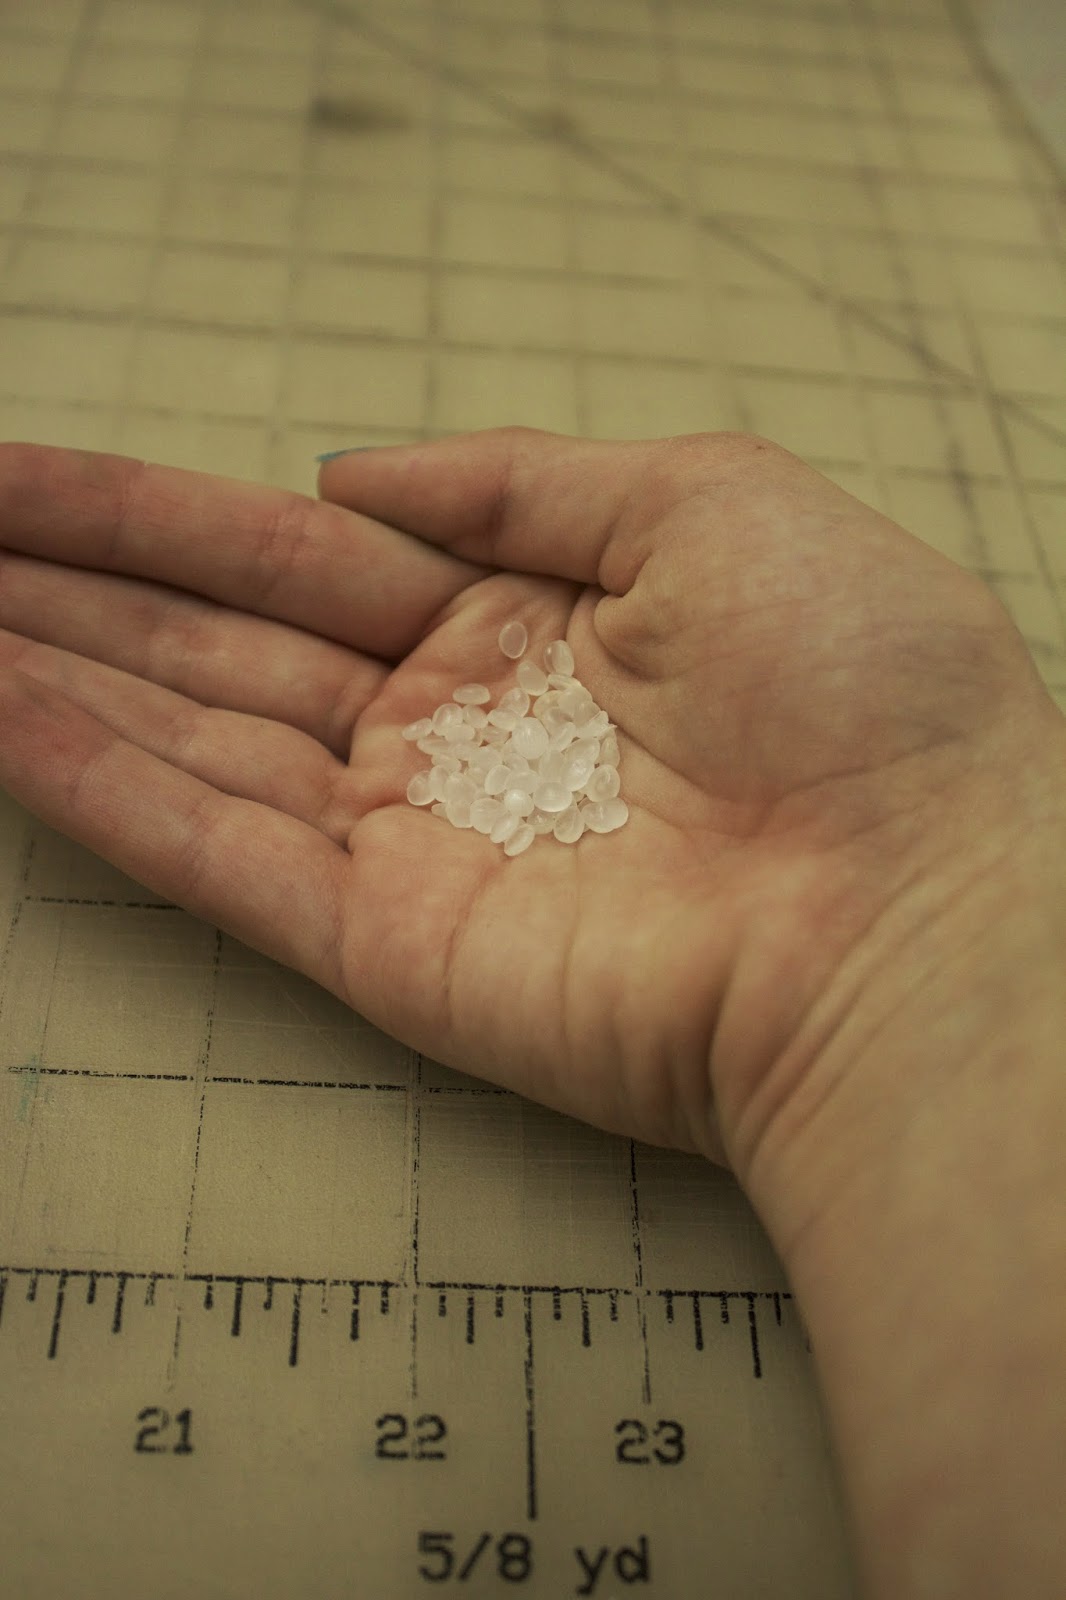
• Poly pellets
• Iron away marker
• And Iron (or straightener, curler, etc.)
• Seem ripper
• Scissors
• Hand sewing needle
Step one: Cut a 6-by-8-inch piece of fabric
Step two: Fold fabric in half hamburger style, pin, and sew on the edge of the presser foot where the to ends meet. (Green line in the picture)

Step three: Sew the adjacent side on the edge of the presser foot. (Green line in the picture)
Step four: Here is a tricky part. On the other adjacent that has not been sewn pull open and align the long side seam in the middle. (As pictured) Then sew on the green line
Step five: Open a small section on the long side seam. (pink to pink)
Step six: Turn it right side out and push out corners using a pen end.
Step seven: Sew a half-inch in on the side with the open seem. Leave a gap or seam rip a small space (Sew on pink lines)
Step eight: Fill this small area with poly pellets, this was difficult to photograph. Then sew this area shut.
Step nine: Measure another half inch in and sew on the pinkish-purplish line.
Step ten: Stuff large section.
Step eleven: Add poly pellets to give a little weight to the back.
Step twelve: Hand sew the opening close.
Step thirteen: Clip threads and iron away any marks
And you’re done!
Look at that! Now you have your very own little phone stand. Enjoy!


I think my wife might make one! :)
ReplyDelete